
Printable Reptile ID Cards and Enclosure QR Labels
For daily care, the point of a printed card is the QR code. Stick one on each tub or rack slot, and scanning it during a feeding or cleaning round opens that animal instantly, or drops it into a multi-scan batch so you can log a whole feeding day at once.
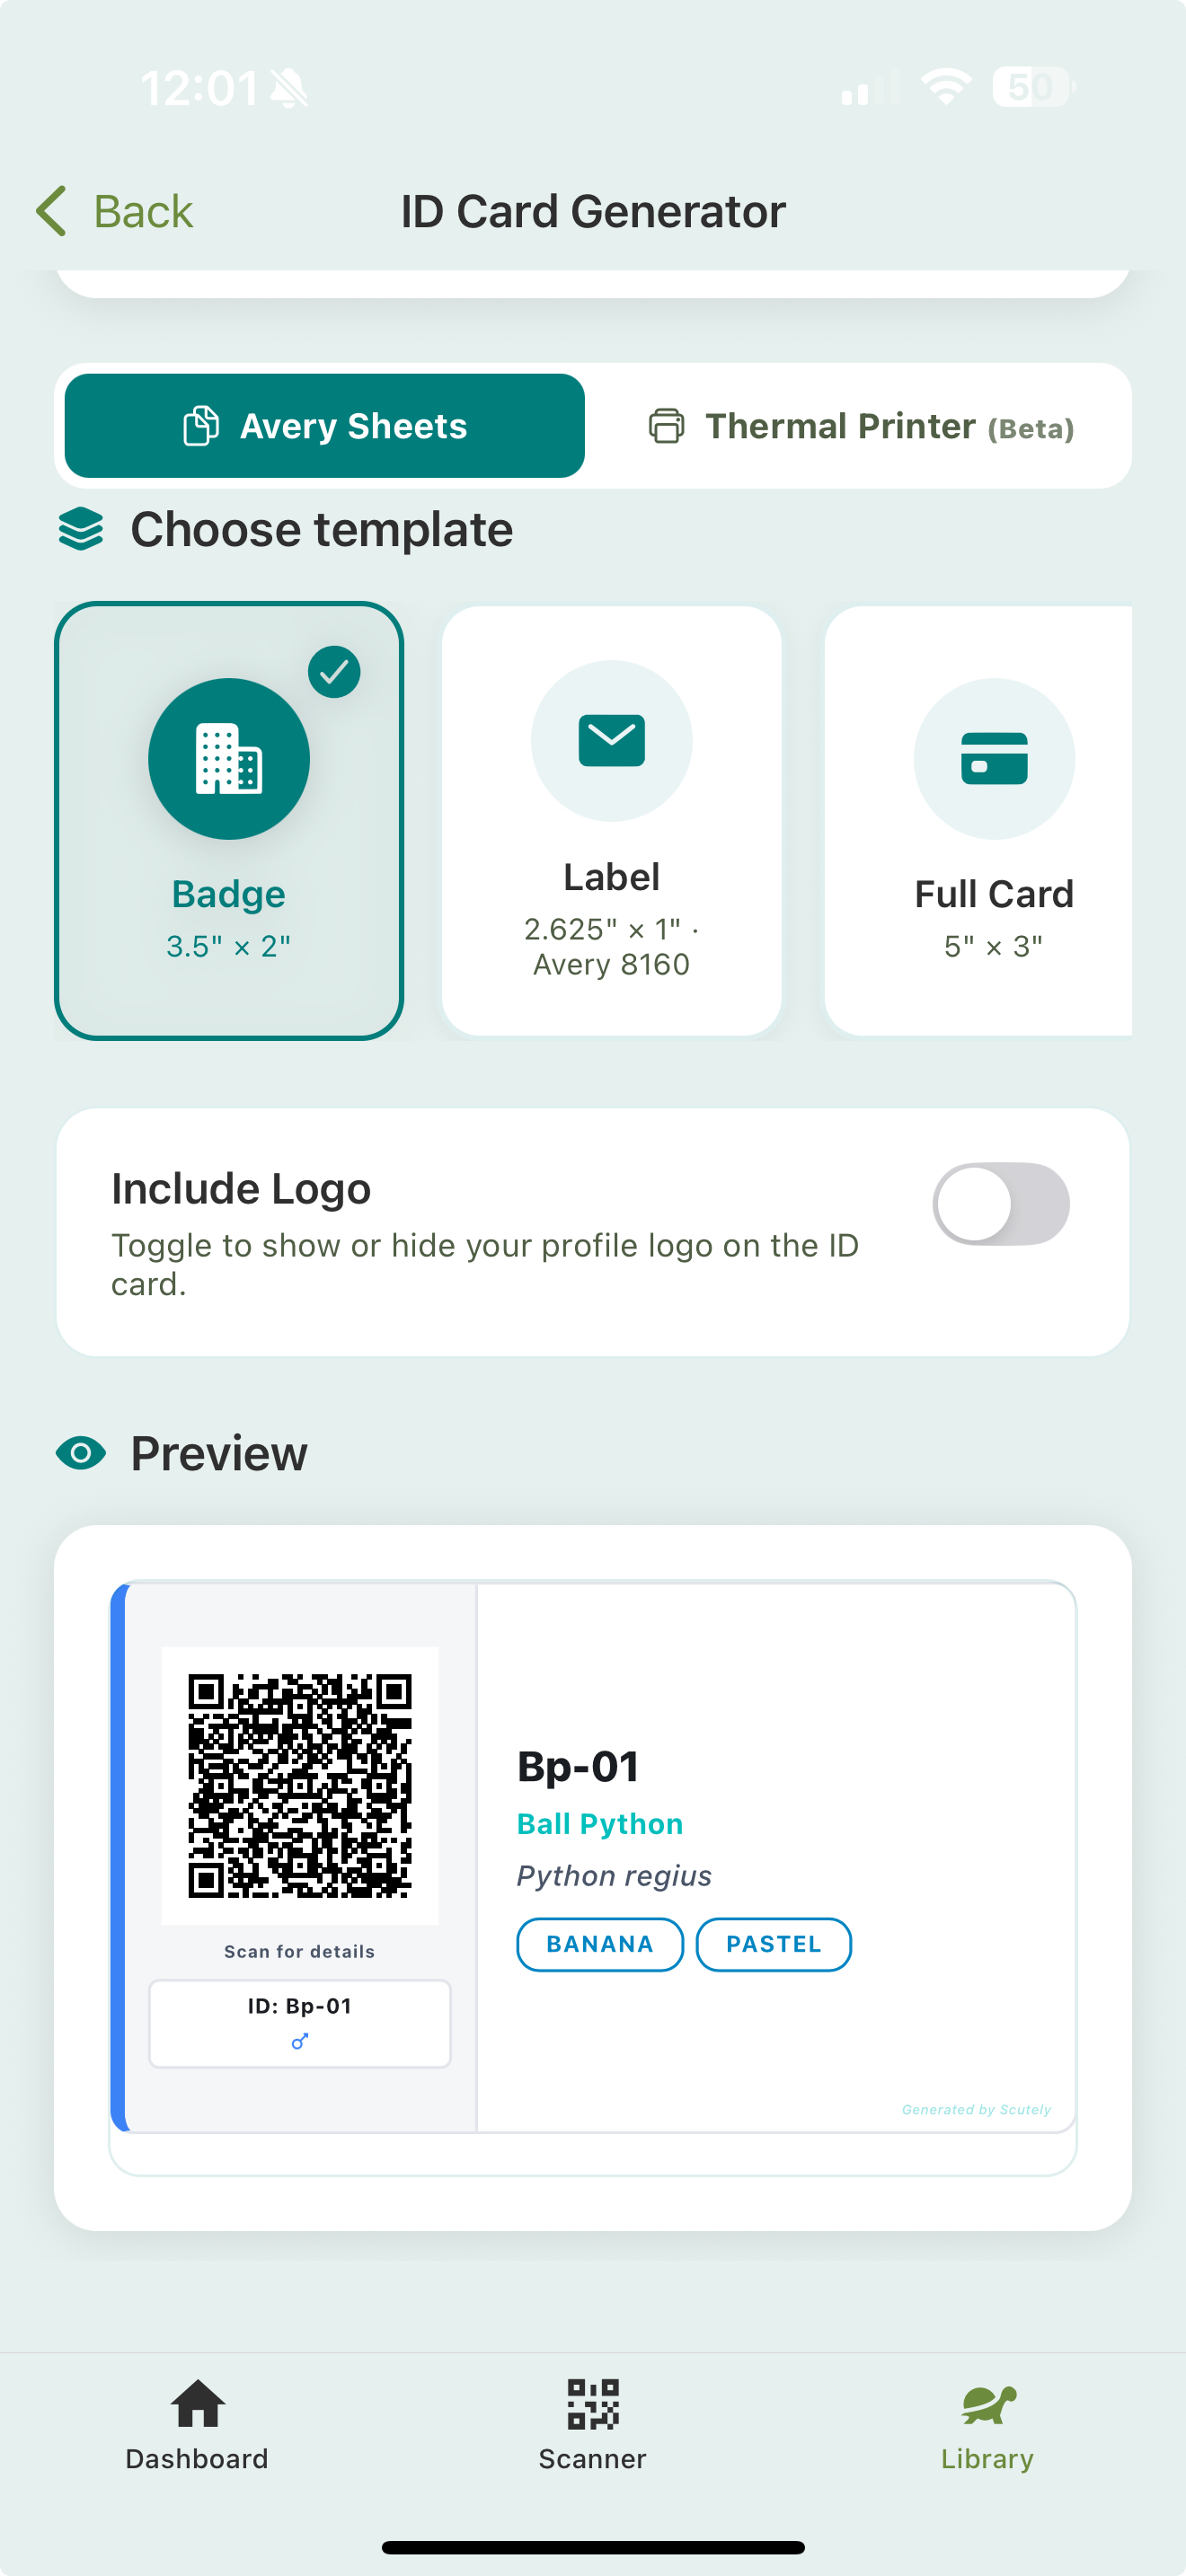
Print an enclosure QR label
- Open an animal, or multi-select several from the Library.
- Choose Create ID Cards.
- Pick a size. For enclosure labels, a Badge (3.5″ × 2″) or a Label sheet is plenty — each carries the animal’s name, ID, sex, traits, and its QR code.
- Print. Cards go through the standard print dialog, so any AirPrint or Mopria printer works.
Collection cards like these are on every plan — no public animal or paid tier needed, because the QR just opens the animal for you, not a buyer.
Bulk labelling a rack
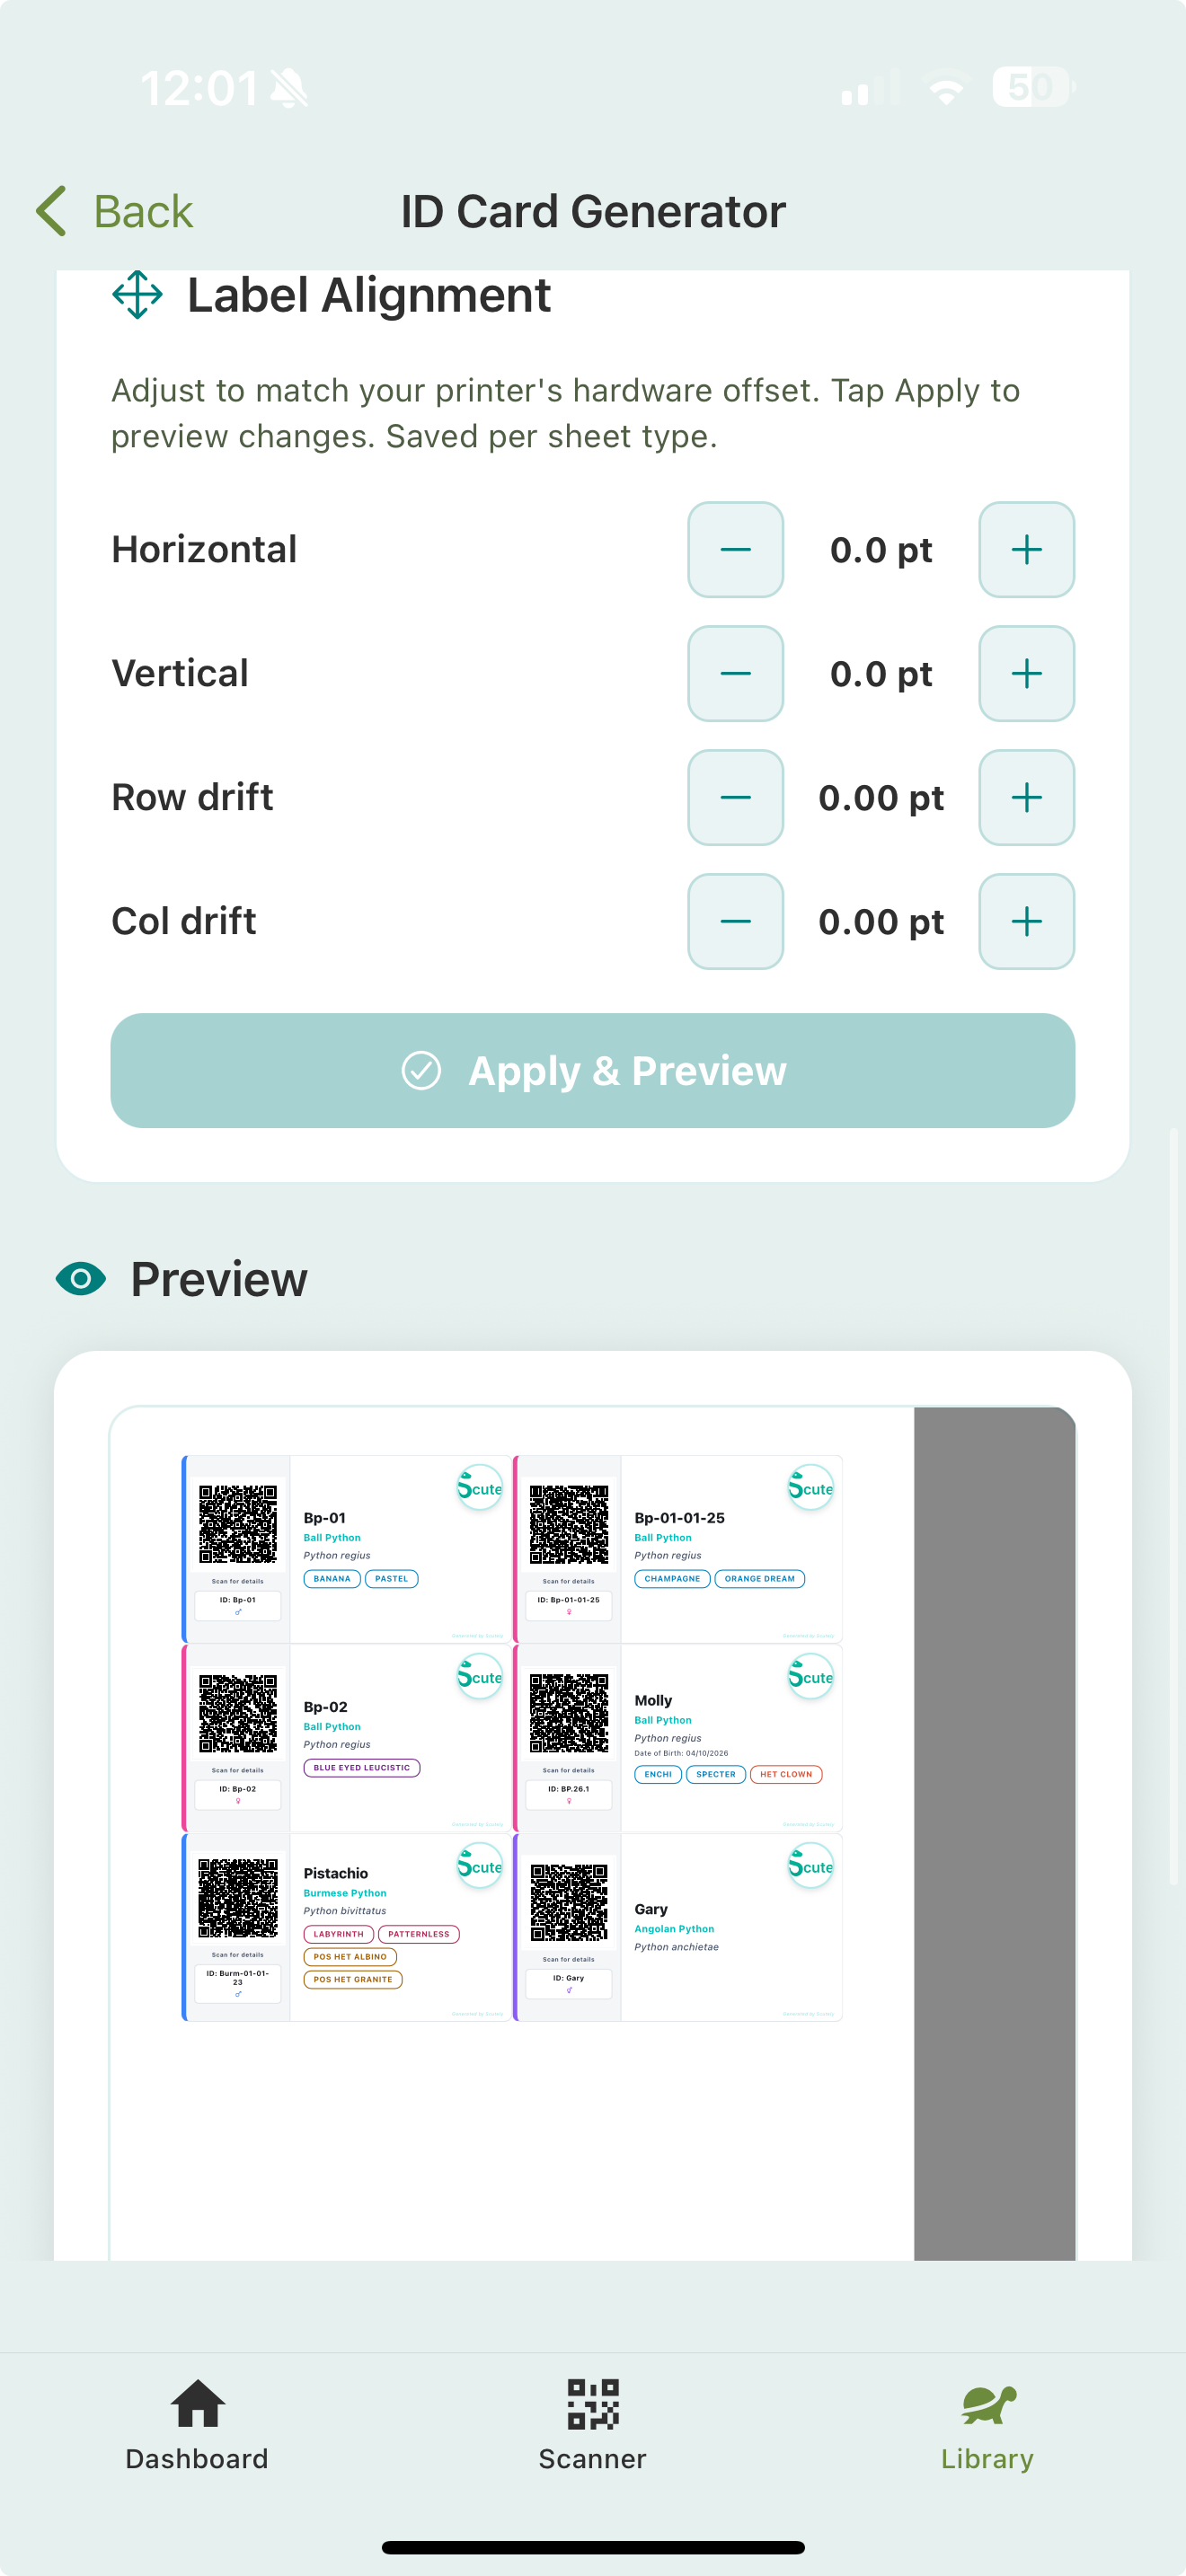
Setting up a new rack, or re-labelling after a move? Multi-select the whole rack (or scan the group) and print the entire batch onto one Avery label sheet in a single pass, each label with its own animal and QR code.
If your printer feeds slightly off, the Label Alignment controls nudge the whole layout — horizontal and vertical shift, plus row and column drift for sheets that creep across the page. Tap Apply & Preview to check the result; the offset is saved per sheet type, so you only dial it in once.
Then scan it
Printed labels are only half of it — the QR scanner is what makes them worth printing:
- Single scan — point at a tub to jump straight to that animal.
- Multi-scan — scan several enclosures in a row to build a batch, then log the same event across all of them.
Related
- QR scanner & multi-scan — scanning the codes you print
- Show cards & selling — buyer-facing show and store cards for expos and shops